Explore this post with:

Fences are an excellent way to enhance the curb appeal of your property. They provide a sense of privacy and security and add a touch of elegance to your home’s exterior.
Fences come in a wide range of styles, colors, and materials, making it easier to choose one that complements your home’s architecture and landscaping. Additionally, fences can increase the value of your home and make it more attractive to potential buyers.
With the right tools and techniques, you can install wire fencing that is both functional and aesthetically pleasing. This guide walks you through installing wire fencing step by step.
Best Fencing Tools

Before installing wire fencing, it’s crucial to have the right tools. Fencing pliers are the most critical tool that you can use for bending and cutting wires. Maun Industries states that you need to choose a tool that has a high-leverage, shear-type cutting blade, that’s been hardened to at least HRC 62 to keep it sharp when cutting tough wire. This makes them an essential tool for installing and maintaining livestock fencing, which is often made from high tensile electric fencing wire.
Types of Wire Fencing

Selecting the correct type of wire fencing ensures that it fulfills its intended purpose, complements your property’s aesthetic, and fits within your budget.
Chain Link Fencing
Chain link fencing, also known as hurricane or cyclone fencing, is the most common type of wire fencing. It’s mainly known for its durability and low maintenance needs.
Constructed from interlocking steel wires forming a diamond pattern, chain link fences provide a barrier that is difficult to breach, making them excellent for security purposes. Chain link fences can be coated with vinyl or zinc or colored to match your home exterior or landscape design.
Chicken Wire Fencing
Chicken wire fencing, or poultry netting, is a flexible and lightweight option best suited for small, enclosed areas like gardens or chicken coops. Chicken wire fences are easy to install and relatively inexpensive because they are made from thin, flexible galvanized steel wire with hexagonal gaps.
One of the significant advantages of chicken wire fences is that they effectively keep small animals out or in, depending on your needs. While they may not offer the same level of security or privacy as other types of fences, they possess a rural charm that can add a touch of homestead aesthetic to your property.
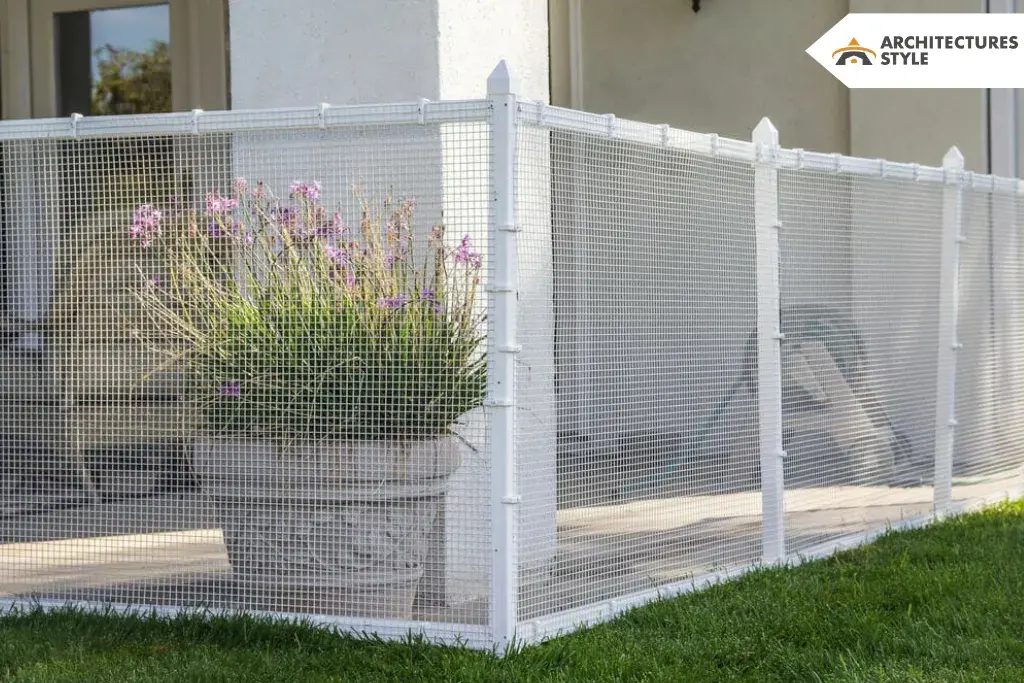
Welded Wire Fencing
Welded wire fencing is created by welding steel wires together at every intersection, creating a grid of squares or rectangles. These fences are available in various sizes, designs, and wire thicknesses, allowing you to choose one that aligns with your security needs and design preferences.
Welded wire fences are noted for their strength and durability. They are resistant to weather and corrosion, offering excellent longevity. Because of their neat, clean lines and modern look, they can be easily incorporated into any landscape design, from rustic to contemporary.
Installing Wire Fencing

Installing wire fencing might seem like an overwhelming task but breaking it down into manageable steps simplifies the process. Here is a quick guide to installing wire fencing:
Plan and Prepare
The first step towards installing a wire fence involves thorough planning and preparation. Begin by measuring the area you want to fence, using stakes and a string line to mark the fence line. This helps determine the amount of fencing material needed and where to place your fence posts.
Remember to choose the type of wire fencing that suits your needs. Remember to buy enough fencing material and posts to cover the determined area.
Install Fence Posts
Start by digging holes for the fence posts, which should be about 2 feet deep and 8 feet apart to provide sufficient support for the fencing. Insert the fence posts in the holes, ensuring they are evenly spaced.
Use a post level to ensure the posts are straight and plumb in the ground. Then, fill the holes around each post with a concrete mix and let it set, following the manufacturer’s instructions regarding drying times.
Install the Fence
Once the posts are securely set, it’s time to install the wire fencing. Start at one end of the planned fence line, unroll the wire fencing, and attach it to the first post using fencing pliers, making sure it’s tightly secured.
Pull the fencing tight to the next post and secure it, repeating this process until the entire area is fenced. Remember that the fencing should be tight enough to provide stability but not overly strained to avoid wire breakage or bending of the posts.
Secure the Fence
After the wire fencing is fully installed, it’s necessary to secure it for extra stability. You can do this by using fencing staples or ties to attach the fence to the posts. The staples should be evenly distributed and firmly hammered in to ensure they hold the fencing properly.
Conduct a Final Inspection
Once the fence is installed and secured, inspect it thoroughly to make sure it’s secure, level, and visually appealing. Look for any loose areas of the fence and tighten them as necessary. If some parts of the fencing appear higher than others, you may need to trim them for a uniform look. Finish by checking all the posts to ensure they are sturdy and firm in the ground.
Conclusion
Installing wire fencing can be a great way to improve the curb appeal of your property while also providing security and privacy. You can easily install wire fencing that is both functional and aesthetically pleasing with the right tools and techniques. With a well-maintained fence, you can enjoy the benefits of increased curb appeal and security for many years.
Discover More


