Explore this post with:

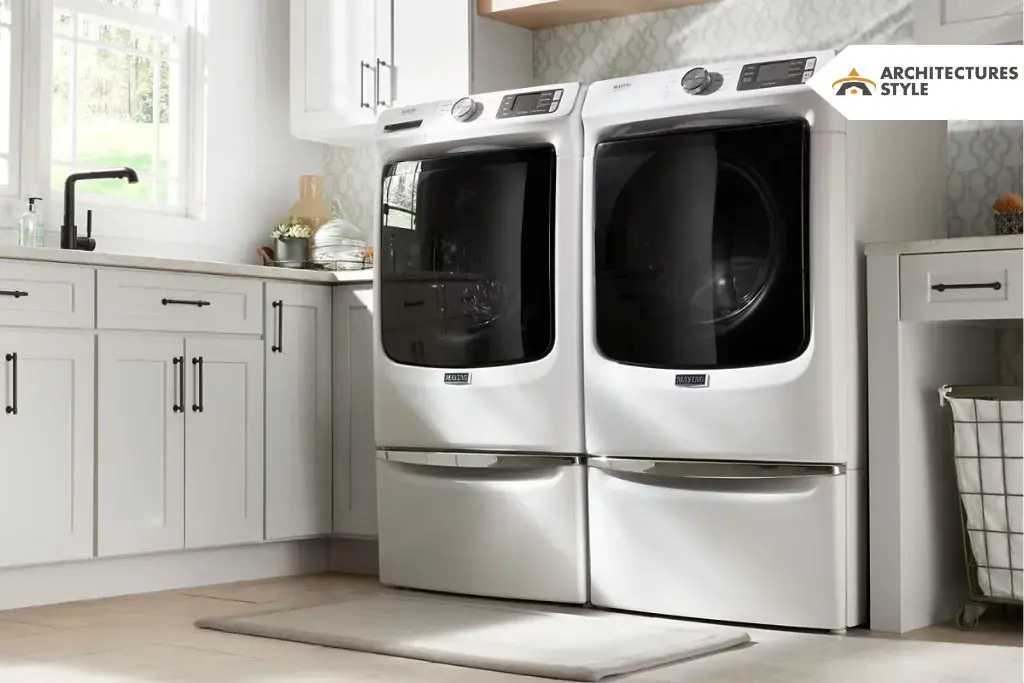
Learn how to clean dryer vent the easy way. You can easily take care of many home tasks yourself, including cleaning your clothes dryer vent. This isn’t just about making sure your laundry dries properly; it’s also crucial for safety. Clogged vents are a leading cause of house fires in the US. Set aside a few hours every year to clean your vent, especially if it gets clogged often. Regular cleaning helps your clothes dry faster and reduces the risk of overheating, which can lead to fires.
Cleaning out a dryer vent is simple. All you need is a vacuum cleaner with a long hose attachment and a brush to remove any stubborn lint. By keeping your dryer vent clean, you’ll ensure your comforter or clothes dry efficiently and safely. Let’s learn how to do it together!
When to Clean Your Dryer Vent

The frequency of dryer vent cleaning is a matter of opinion, but professionals normally advise doing it once a year or every three months. You may be able to get away with cleaning it less often if you live alone, but you will need to clean it more frequently if you do a lot of washing.
However, you should clean the vent and ducts as soon as you notice that your clothes are taking longer to dry, that your dryer seems hotter than normal, or that you smell anything burning while it’s on. Ignoring this chore might result in a fire danger. The US Fire Administration estimates that improper cleaning is the primary cause of over 3,000 dryer fires annually.
Dryer Vent Cleaning Supplies

At the very least, you’ll need a vacuum with a hose or tube connection. An extension handle for your dryer duct, a face mask, a power drill, or a screwdriver may also be useful, depending on how long your dryer duct is, how clean you want it to be, and how everything is set up.
Special dryer vent cleaning kits with extra-long brushes are readily available, or you can get creative and make your own using a cloth and a stick. When making your own cleaning solution at home, take care not to harm the ducting and watch out that your homemade instrument doesn’t break or get trapped and obstruct the duct.
Seeking assistance from a professional dryer cleaning service is usually a smart option if you’re not sure what you’re doing.
How to Clean a Dryer in 11 Steps
Let’s take a look at the steps involved in cleaning a dryer vent.
1. Unplug your dryer

Disconnecting the power supply is the first thing you should do before servicing any electrical equipment, including your dryer. If your dryer is gas-powered, locate the gas supply line and turn it off as well.
2. Find both ends of your dryer vent
It should be quite easy to identify the dryer vent as one end is outside your house, and the other is at the back of your dryer.
Note to Remember: You may not be able to use the vent exit if you reside in an apartment or multi-family building. In this situation, it’s a good idea to ask your landlord or management company whether you or they are in charge of cleaning the vent.
3. Remove your external vent cover
Removing this cover facilitates cleaning and helps keep dirt and animals out of your house. It may be screwed on, or it may just slide on and off.
4. Move your dryer away from the wall
Make sure there is enough room to access the rear vent connection without bending or harming the ducts. If there is a gas line, take special care not to bend or damage it to reduce the possibility of a potentially deadly gas leak.
5. Disconnect the duct from the back of your dryer

There are several kinds of fasteners that will do the job, including clips, tape, and screw-tightened steel hose clamps. After removing every attachment that was holding your machine (except from any gas connections), you can move it to a convenient location and finish the task there.
6. Clean the dryer

Take out and clean the lint trap if you haven’t before. This will keep your duct cleaner for longer by lowering the quantity of lint that enters it after each load. After that, clean the lint trap region with a brush and vacuum. After that, clean out the dryer’s rear vent using the brush and vacuum.
7. Disconnect the duct where it enters your wall
It’s possible you won’t be able to accomplish this, but if you can, it will make cleaning easier. It most likely connects to the outside-bound ducting in the same manner as your dryer’s back.
8. Brush out the duct

After taking out any lint that is within your grasp, give the duct a light vacuum cleaning. Be very careful not to break the pipe. If your duct is long, you can use a long-handled brush and move it back and forth, rotating it as you go. Certain cleaning kits include brushes that attach to power drills so that spinning them within the duct is easier. During this phase, you must cover your face to prevent dust and lint from entering your lungs.
Note to Remember: You may not need to do much if your dryer is close to the exterior or if you clean your lint trap on a regular basis, but be aware that cleaning can still be a dirty operation. The flexible ducts, in particular, are more prone to bending and clogging.
Tip: If your dryer duct has one higher end than the other, attempt to clean from that side whenever you can. This will prevent debris from falling on you as you work, and dislodging dirt can help eliminate more grime.
9. Clean up

Any dust and debris that has accumulated outdoors where the vent leaves the home or on the floor can be cleaned up with a brush or vacuum. While the dryer is running, any lint that is left behind can be drawn inside the device. Reinstalling your outer vent cover is important to prevent small animals or birds from getting into your dryer duct if you have taken it off.
10. Reconnect your dryer

As you put everything back together, be sure nothing was damaged in the cleaning process. Reassemble everything, plug it in, and, if necessary, relight the gas.
Caution: Don’t secure ducting with screws or other sharp fasteners. They can pierce the ducting, which may lead to leaks and lint accumulation.
Tip: Use foil tape rather than standard duct tape when taping your duct. Over time, foil tape won’t dry out or come off; it remains in place.
11. Test the dryer

Turn the empty dryer on low for around fifteen minutes to make sure there are no air leaks, and everything functions properly.
How to Clean Dryer Vent from the Outside

1. Grease the vent hinges
Make sure the slats are opening and closing smoothly by checking the outer vent while the dryer is operating. If they aren’t, grease the hinges using WD-40 or another lubricant.
2. Remove debris and lint
Clean the slats with a wire brush if they get clogged with lint or other debris.
3. Clean the vent cover
To clean the outside vent cover, use a damp cloth dipped in a mixture of warm water and dish soap to eliminate dust, filth, and other debris. Before reattaching the vent cover, give it a quick rinse with water.
Tips to Keep a Dryer Vent Clean for Long
- If you want to keep your clothing free of lint, try using wool dryer balls or a dryer sheet to eliminate static electricity.
- Clean the filter regularly by removing lint after each load of washing. In terms of user safety and the machine’s general performance, this is an absolute must.
- On a regular basis, empty the lint filter housing using the hose attachment of your vacuum.
- It is particularly important to clean the filter every few months if you use dryer sheets for washing. Dryer sheet residue has the potential to block the filter’s pores. After removing the old filter and washing it with soapy hot water and a stiff bristle brush, you should replace the housing.
How to Prevent Lint Buildup

Improving your dryer’s performance and making it harder for lint to accumulate are two benefits of taking preventative measures.
1. Clean the lint trap
Remember to remove the screen and inspect it for lint before and after each load, as stated above. You may also run water over the mesh to remove dryer sheet residue. If water is having trouble passing through, try brushing the screen with warm, soapy water and a towel to dry it.
2. Regularly clean around your dryer
If your machine can reduce the amount of dust it picks up from its environment, it will work better.
3. Hang heavier items out to dry
Your dryer’s motor needs to work harder to move bigger loads. Your machine will be grateful if you can spare the space to hang that heavy duvet cover outside. Want to do something big? A simple drying rack that you can attach to the wall is another option.
4. Consider replacing your duct
In comparison to their solid-metal counterparts, dryer ducts that are flexible are more likely to get clogged and even fire hazards. Also, your local construction codes may not be compatible with them. Make sure you check with your local building code office to guarantee compliance if you have a flexible duct. In any case, straight ducts are less of a pain to keep clean and in good repair.
Mistakes to Avoid When Cleaning a Dryer Vent
There’s more to cleaning your dryer vent than merely removing the lint filter after every load. Your house might catch fire if you neglect this activity.
When cleaning your dryer vent, keep the following major errors in mind:
1. Ignoring to Unplug the Dryer
To avoid electric shock, unplug the dryer from the wall socket at all times. Turn off the gas supply to gas dryers to prevent leakage.
2. Using the Wrong instruments
To properly remove lint from the duct, invest in instruments like the Everbilt Dryer Vent Cleaning Kit or the Lint Lizard.
3. Trying to Clean Out Dryer Vent that is Long on Your Own
If the dryer duct is very lengthy, you may want to hire a professional, which will usually run you around $100.
4. Ignoring to Check the Duct for Damage
During cleaning, look for any rips or cracks in the duct and fix them right away.
5. Bending the Duct Too Much
To avoid lint accumulation and possible breakage, avoid making abrupt curves or bends while reattaching the duct.
6. Reattaching the Duct with Duct Tape
When reattaching the duct using duct tape, use aluminum tape rather than duct tape since the heat from the dryer might cause duct tape to corrode.
7. Vent Routing into a Crawlspace or Attic
To avoid the accumulation of combustible lint, direct the exhaust outside. Give serious venting to the pros.
8. Ignoring Moisture Sensors
To guarantee effective dryer clean vent operation, wipe the sensor using rubbing alcohol and a cotton ball.
9. Not Frequently Enough Cleaning the Dryer Vent
At the very least, once a year (or more often for extensively used dryers), try to clean the vent.
Recall that taking these precautions may assist in preserving dryer vent safety and avoid possible risks.
When to Call a Professional

You should probably call an expert if you can’t get the vent clean enough or if your dryer is still giving you trouble after you do it yourself. The complexity of the cleaning, the material of the vent, and your location all play a role in determining the final price of this service. The going rate for a straightforward task, such as clearing a vent pipe, is usually between $100 and $200. It is essential to keep the dryer vents clean and free of debris to prevent fires.
Explore Further


