Explore this post with:

Wall paneling has made a major comeback in interior design, and it’s easy to see why. It adds depth, character, and a touch of sophistication to any room, whether you’re going for a classic, traditional look or something sleek and modern. Plus, it’s a surprisingly simple way to hide imperfections on your walls while improving insulation and durability.
One of the most popular styles today is wood wall panelling, which offers a timeless and versatile aesthetic that suits a variety of home décors. The best part? You don’t need to be a professional to do it yourself. With the right tools, a bit of patience, and a step-by-step approach, you can completely transform a space in just a weekend.
This guide will walk you through everything from choosing the right style to the nitty-gritty of measuring, cutting, and fixing your panels in place.
Choosing the Right Paneling Style
Before you grab a saw and start cutting, it’s worth considering the different styles of paneling. There’s no one-size-fits-all—your choice will depend on the look you’re going for and how much effort you want to put into the project.
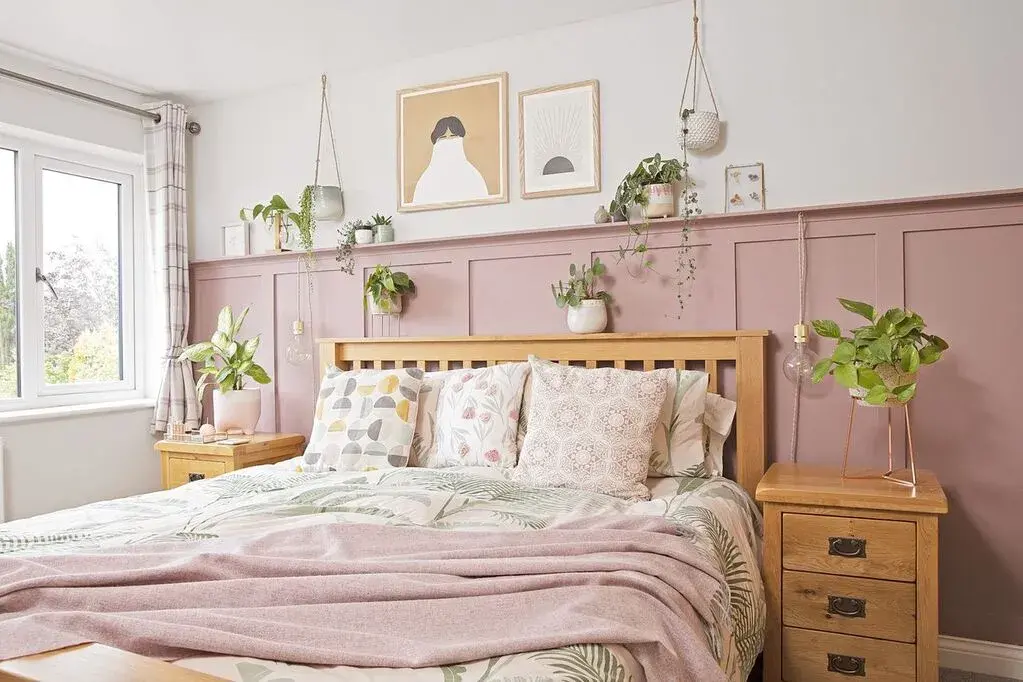
- Shaker-style paneling is a favourite for its simple, clean lines and timeless appeal. It suits both traditional and modern interiors and works particularly well in living rooms and bedrooms.
- Beadboard paneling is another classic option, with narrow vertical planks separated by a small ridge or ‘bead’. It’s a great choice for kitchens and bathrooms, giving a slightly rustic, cottage-style feel.
- Board and batten paneling involves wider panels with vertical battens placed over the seams. It creates a more structured, architectural look and works well in hallways or feature walls.
- Slatted panels have become increasingly popular in modern interiors, providing a contemporary, textured look. They’re also fantastic for improving acoustics in a room.
- Wood wall paneling is a decorative and functional interior design element. It involves attaching wooden panels to walls, offering insulation, protection, and aesthetic appeal. Various styles exist, including beadboard, shiplap, and raised paneling, each providing a unique look. Wood wall paneling can add warmth, texture, and character to any space.
Once you’ve settled on a style, it’s time to start planning the installation.
Preparing for the Project
First things first: measure your wall. This is probably the most important step because any mistakes here will be obvious once everything’s in place. Use a tape measure to get the height and width of the wall, then sketch out a rough design so you know exactly where your panels will go. If you’re doing a grid-style design, make sure everything is evenly spaced.
Now, let’s talk materials. Medium-density fibreboard (MDF) is the most common choice for DIY paneling—it’s affordable, smooth, and easy to work with. You’ll also need some good-quality adhesive (like No More Nails), decorator’s caulk, primer, paint, and a selection of tools:
- A saw (a mitre saw or hand saw will do the trick)
- Sandpaper
- A spirit level
- A caulking gun
- A paintbrush and roller
Once you have everything ready, clear the wall of any existing nails, picture hooks, or uneven patches. If the surface is rough, give it a light sand to help the adhesive stick better.
Step-by-Step Installation Guide
Step 1: Cutting Your Panels
Take your MDF and measure out the strips according to your design. If you’re doing a full wall, you’ll need both vertical and horizontal pieces. Mark them with a pencil and use a saw to cut them to size. If you’re using a mitre saw, this will be quick and precise; if not, a hand saw and a steady hand will do. Once cut, sand the edges to get rid of any splinters.
Step 2: Fixing the Panels to the Wall
Apply grab adhesive to the back of each panel strip. Start with the outermost vertical strips, pressing them firmly onto the wall. Use a spirit level to check they’re straight before moving on. Once your vertical pieces are in place, add the horizontal ones, making sure they’re evenly spaced.
You can also secure them with nails or screws if you prefer extra reinforcement, but adhesive alone is usually strong enough. Just make sure you hold each piece in place for a few seconds to let it bond properly.
Step 3: Filling the Gaps
Once all the panels are up and the adhesive has dried, it’s time to tidy things up. Use decorator’s caulk to fill any small gaps between the panels and the wall, smoothing it with your finger or a caulking tool. This step is crucial for achieving that seamless, professional finish.
Step 4: Priming and Painting
Now for the fun part—painting! MDF tends to absorb paint, so it’s best to apply a primer first. Once the primer is dry, grab a paintbrush for the panels and a roller for the larger wall areas. Two coats of paint will usually be enough to get a rich, even finish.
Finishing Touches and Maintenance
Once your wall panelling is finished, step back and admire your work. You’ve just added a feature to your home that looks like it belongs in a design magazine. And the best part? It cost a fraction of what you’d pay a professional to do the same job.
To keep your paneling looking fresh, give it a quick dust every now and then and wipe it down with a damp cloth if needed. If you ever need to touch up scuffs or marks, keep a small pot of your wall paint handy.
Final Thoughts
DIY wall paneling is one of the easiest ways to elevate your home without a hefty price tag. Whether you’re looking to create a cosy, traditional feel or add some modern, architectural detail, this project is well worth the effort.
If you’re feeling inspired but still a little unsure, watch a few video tutorials to see the process in action. Before you know it, you’ll be looking around your home wondering which wall to tackle next!
In Case You Missed It!


