Explore this post with:

From the warm breeze to the many birds chirping and the wind chiming, spending time in your yard can bring calmness to your routine. But nothing compares to creating your own unique piece to add that special character to our yard. This very simple and quick art epoxy resin project will have you feeling accomplished and add a little something of DIY epoxy resin to your yard.
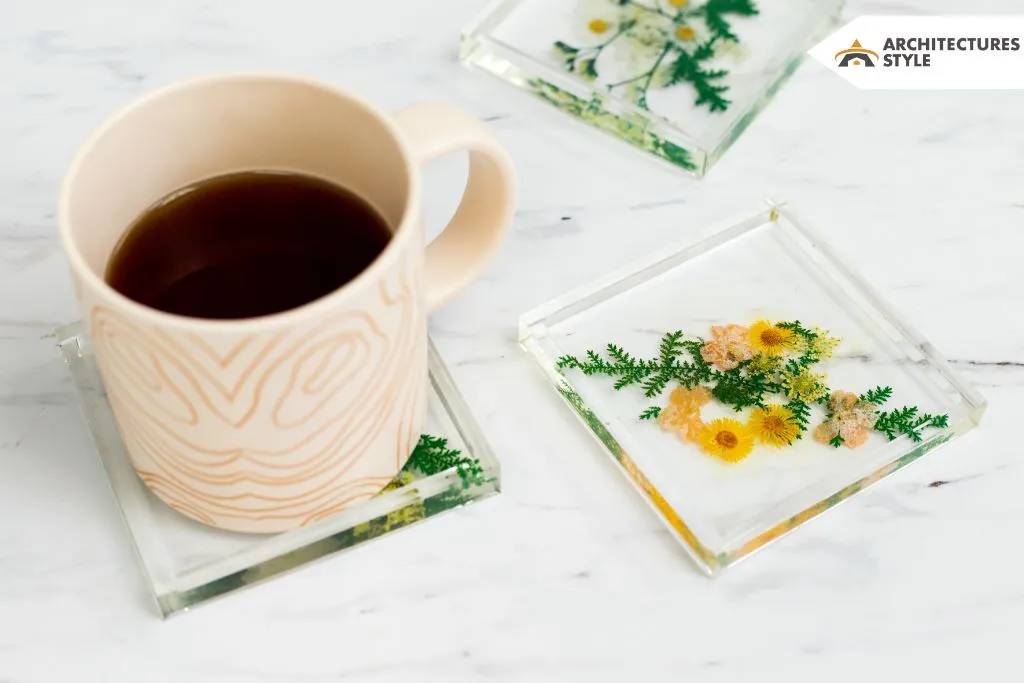
Getting Started with Art Epoxy Resin

The most important part of any art epoxy resin project is selecting the proper resin for DIY projects. It’s 20crucial that you purchase a brand made here in the U.S.A., that has no harmful VOCs, and is UV resistant (this is especially important for outdoor projects)!
Once you’ve found an epoxy that fits your project, it’s time to read the directions very carefully. Each type of art epoxy resin has different requirements for its mixtures, ratios, as well as cure time. To help you navigate these steps, it’s recommended that you leverage the directions in your specific art epoxy resin kit and do research online, videos are especially helpful.
Once you’re confident in how to properly mix your art epoxy resin it’s time to get creative!
DIY Art Resin Epoxy Wind Chime
Nothing makes your outdoor space more at peace than a slight chime that comes with the breeze. But getting a wind chime that fits your aesthetic perfectly can have a hefty price tag. That’s why we love this DIY epoxy resin project that can be done in just a few hours and is very customizable.
Epoxy DIY Supplies
- Quality Art Epoxy Resin
- Three One-Gallon Mixing Tubs
- PPE (masks, gloves, goggles)
- Mixing Sticks
- Mica Powder for Coloring
- String
- Metal Ring (size of your chime)
- Mallet
- Parchment Paper
- Metal Tray
Coloring and Pouring

With your epoxy mixture combined and ready to pour, you can start to add in your coloring with the mica powder, a natural mineral with shiny flakes used in many art projects.
To make sure that you’re getting the colors exactly how you want them, take smaller cups of your already mixed art epoxy resin and test your colors there first. This will allow you to test how much mica powder you need, and work with multiple colors at a time!
With your colors separated, it’s time to prep the pour. For this version of the wind chime, we will be using a mallet to smash cured epoxy resin to create a random and broken glass-like texture. If you’d rather have specific shapes and sizes, now is the time to create and prepare those molds.
For the glass-like texture, you will need to seal your metal tray with your parchment paper and be sure that there are no leaks or seals. The parchment paper will allow you to remove your epoxy, but if there is a gap and it leaks it can permanently get stuck to your metal tray.
With your parchment and your tray ready, it’s time to begin your pour! Take your colors and pour them one at a time into unique trays, or mix them in together! This is the time to be creative.
Once you’ve finished pouring out your art epoxy resin, you will need to let it cure. Depending on the type of art epoxy resin you’ve purchased, this can be anywhere from 24-48 hours. Make sure your epoxy project is protected from any possible rain or extreme weather event.
Assembling

Conclusion
Once your art epoxy resin has fully cured (hardened) it’s time to bring out your mallet. Make sure that you’re outdoors and wearing your goggles in case scraps of epoxy break off into the air.
Take a second piece of parchment paper or even cloth and lay it across your cured surface. Once you have this secured, test a small sample and gently take your mallet to it, increasing force as needed to create the sections of epoxy. Once you’re happy with the appearance and size, it’s time to put your chime together.
Take a small drill bit and create holes that are large enough for your string to fit through. From there you can string your epoxy pieces together and secure them with knots at the base of each epoxy resin chip. Once you’re happy with your strings you can then attach them to your metal ring and hang them!
Discover More:


